While DogLog supports logging to the roboRIO's internal storage, using a USB drive is the preferred method for storing logs.
Some benefits of using a USB drive for logging include:
- Having an easy way to access logs when the robot is turned off
- Ensuring you always have enough storage for logs, without worrying about old ones being overwritten to make
- A safer way to store logs than on the roboRIO's storage
- On the roboRIO 1, using a USB drive for logs avoids bricking the internal flash storage
- Read more about this failure mode here
- On the roboRIO 2, the microSD card frequently comes loose during hard collisions, causing log writes to fail without a USB
- On the roboRIO 1, using a USB drive for logs avoids bricking the internal flash storage
This guide will walk you through the steps of formatting a USB drive to get it ready for use with DogLog on a robot.
Steps for Windows
Section titled “Steps for Windows”Plug the USB drive into your computer
Open a File Explorer window and look for your USB drive in the sidebar
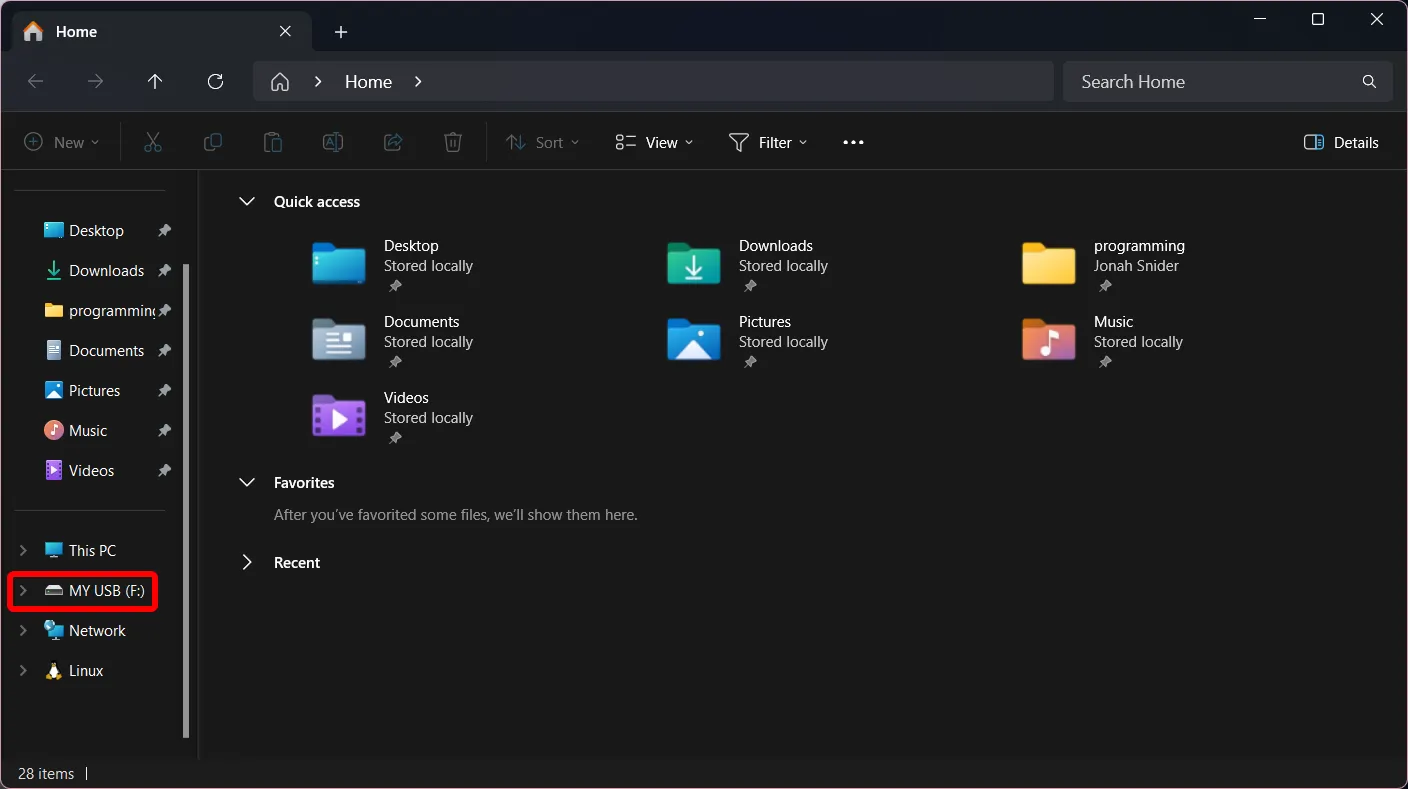
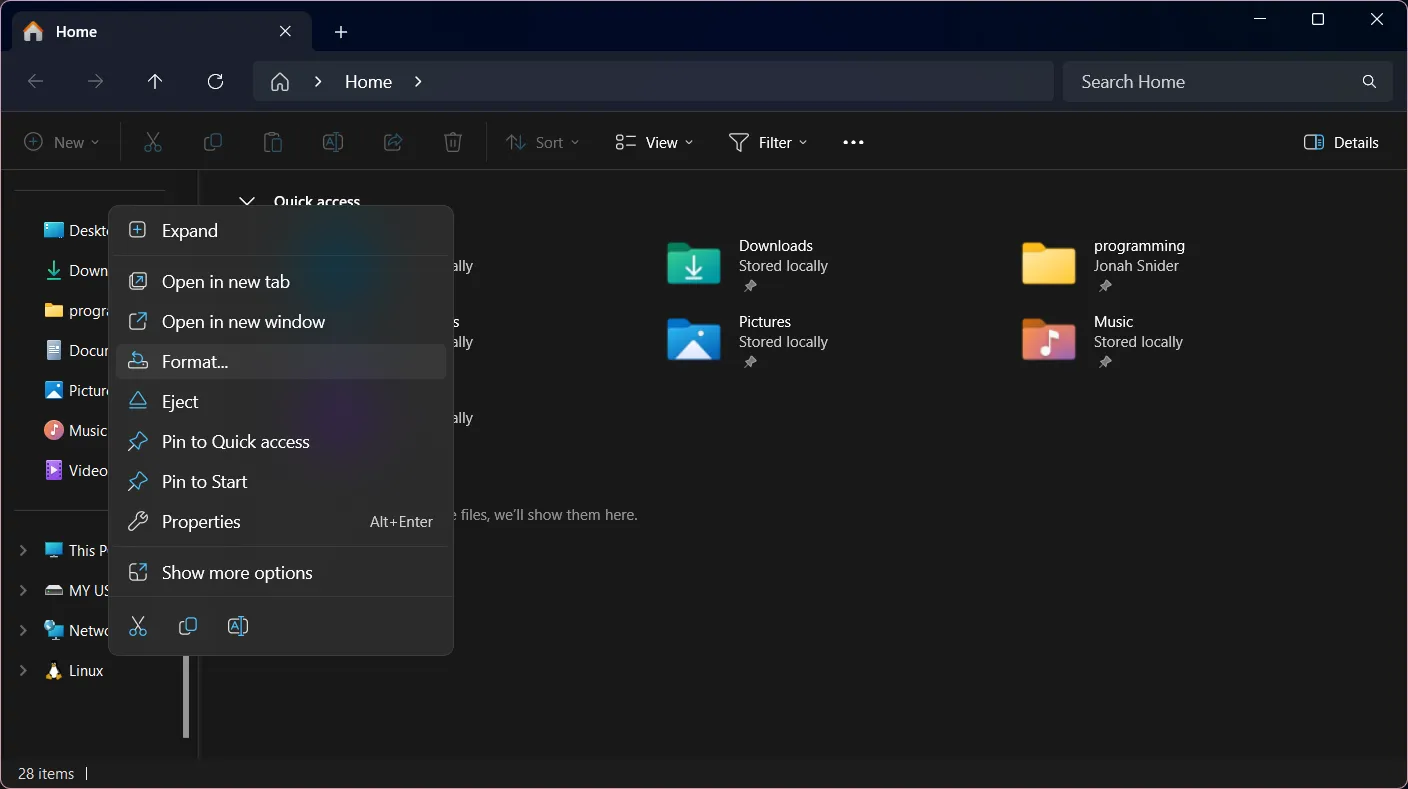
Right click the USB drive and click the "Format..." option
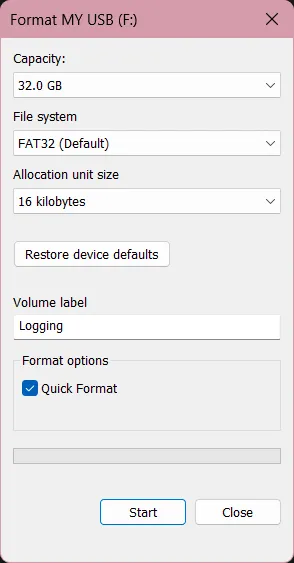
In the window that opens, enter a name for the USB drive, and under the "File system" section, select "FAT32 (Default)" if it isn't already selected
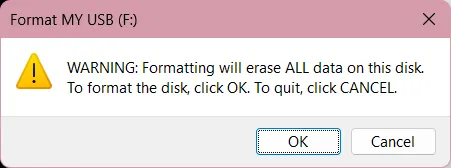
In the dialog that opens, click "OK" to confirm formatting the USB drive
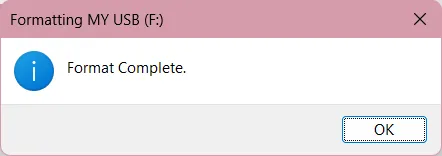
After formatting, click "OK" in the dialog that opens
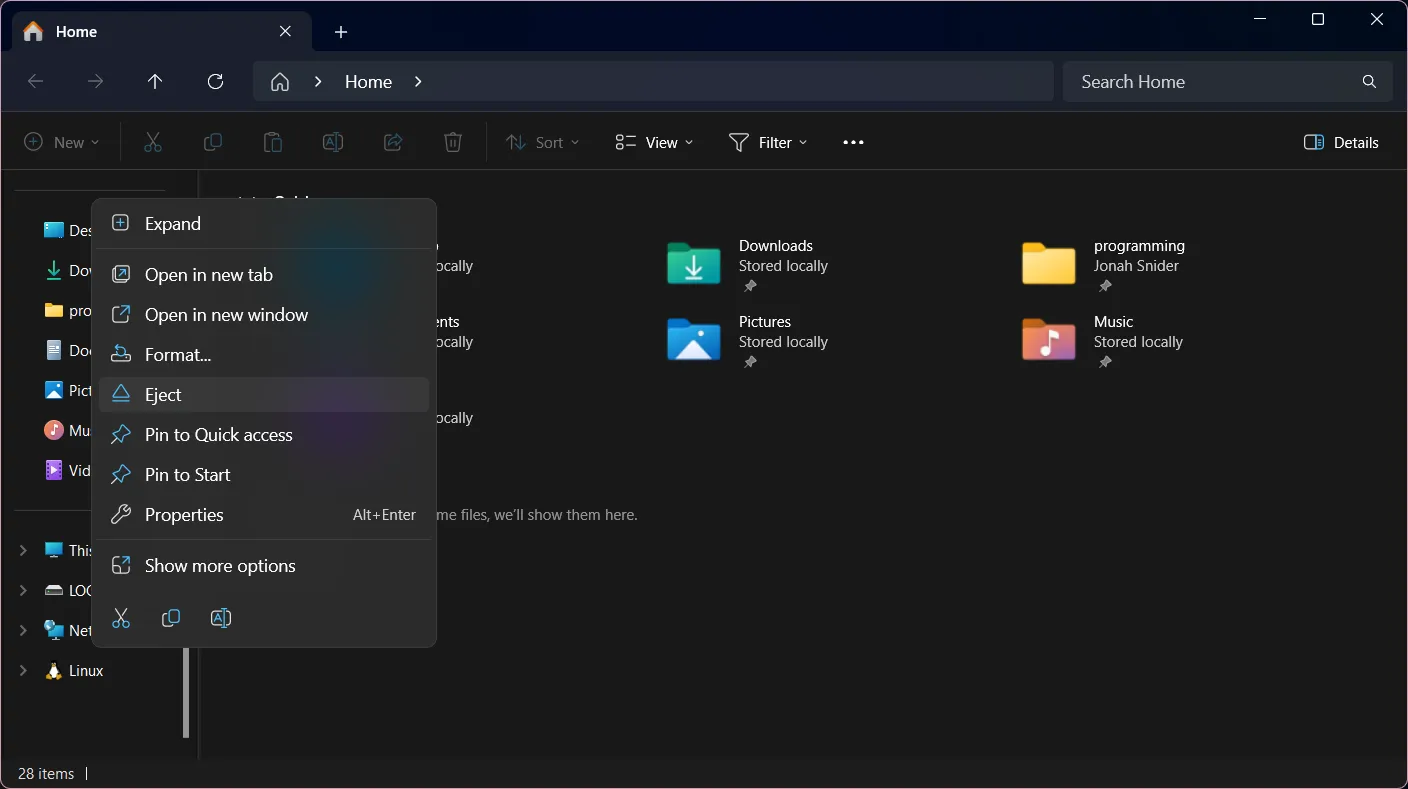
Right click the USB drive and click the "Eject" option, then remove the drive from your computer
Insert the USB drive into one of the roboRIO's USB ports
The next time your robot code starts up, logs will automatically be saved to the USB drive.
Due to a limitation in the built-in Windows formatter, USB drives larger than 32GB can't be formatted as FAT32, which is the only format supported by the roboRIO. As a workaround, this guide uses Rufus, a free and open-source app for formatting USB drives.
Plug the USB drive into your computer
Download and install Rufus
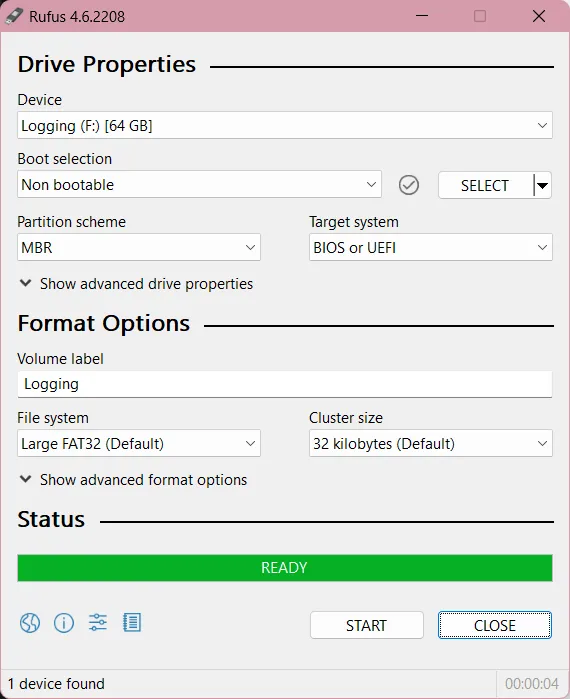
Open Rufus, and under the "Device" section, select the USB drive you want to use
Under the "Boot selection" section, select "Non bootable"
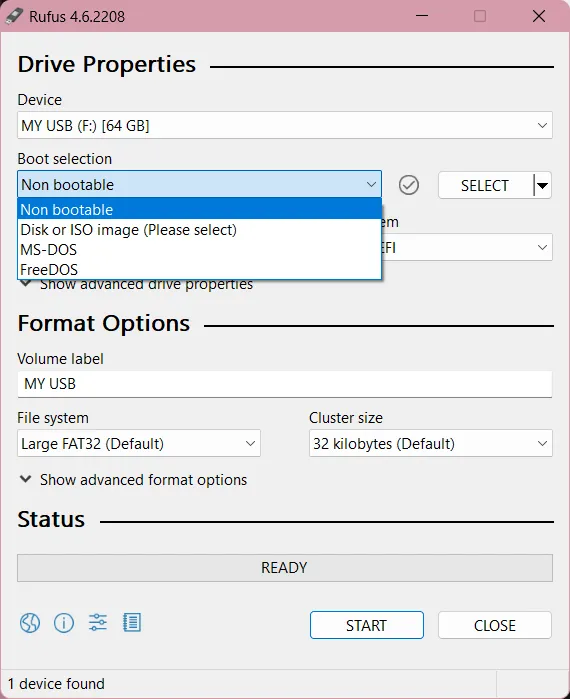
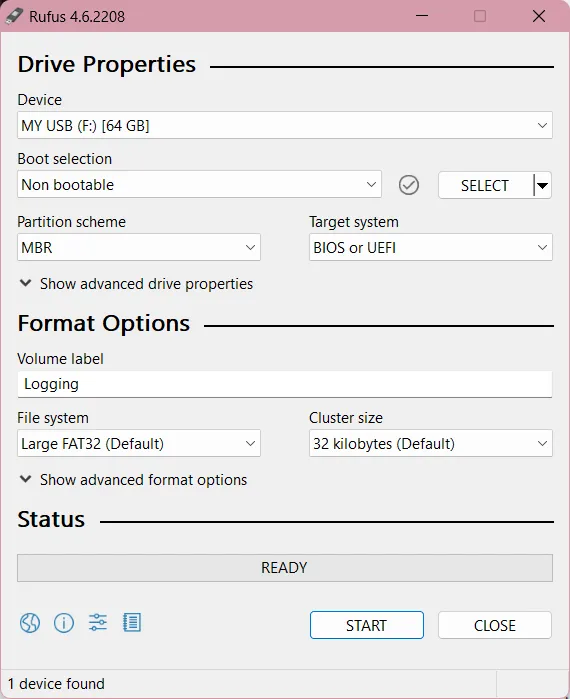
Under the "Volume label" section, enter a name for the USB drive
Under the "File system" section, select "Large FAT32 (Default)" if it isn't already selected
Click "START"
In the dialog that opens, click "OK" to confirm formatting the USB drive
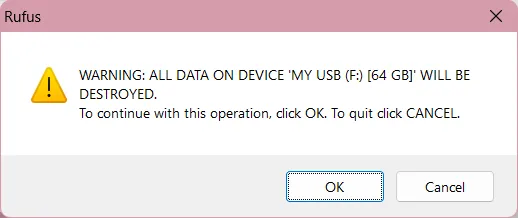
After formatting, click "CLOSE" in Rufus
Open a File Explorer window, and look for your USB drive in the sidebar
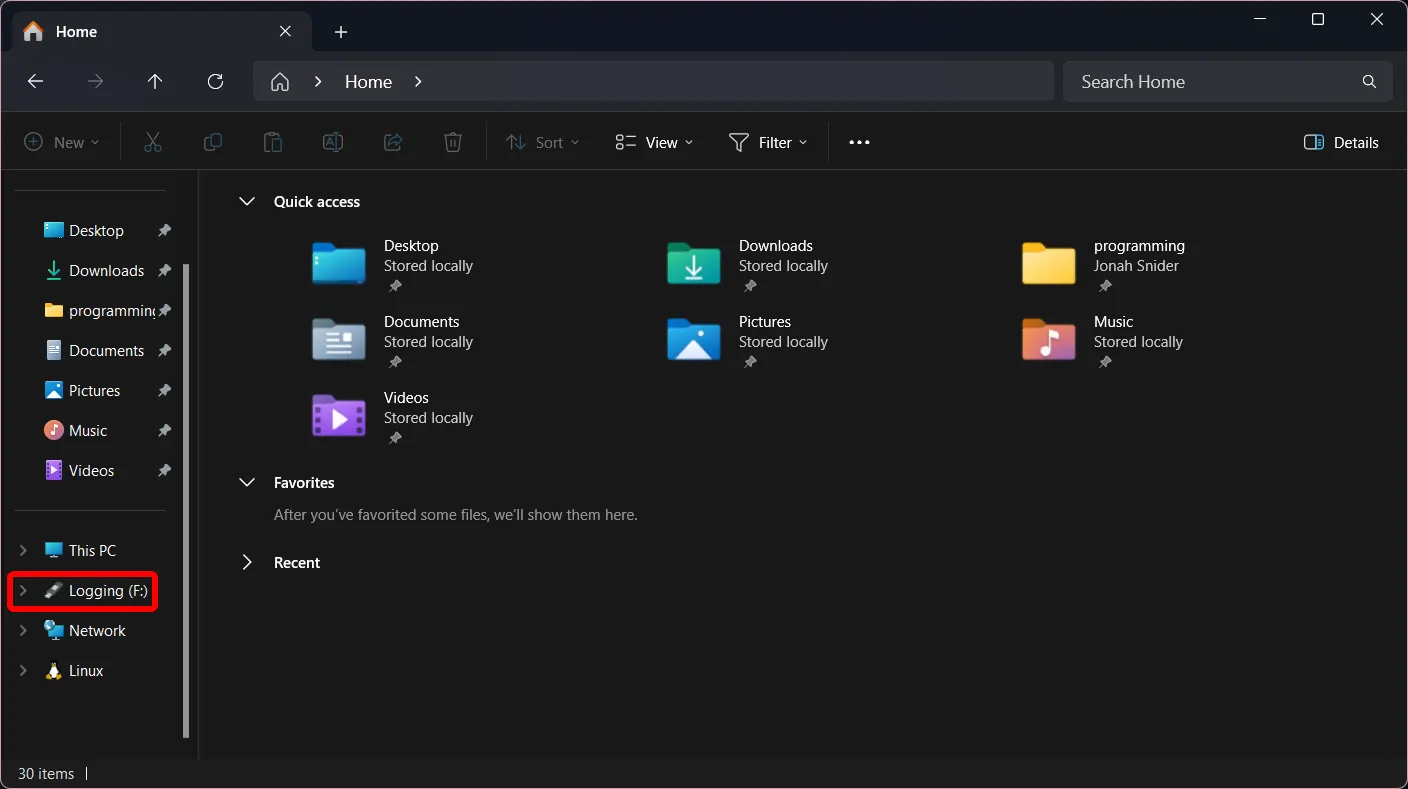
Right click the USB drive and click the "Eject" option, then remove the drive from your computer

Insert the USB drive into one of the roboRIO's USB ports
The next time your robot code starts up, logs will automatically be saved to the USB drive.
Steps for macOS
Section titled “Steps for macOS”Plug the USB drive into your computer
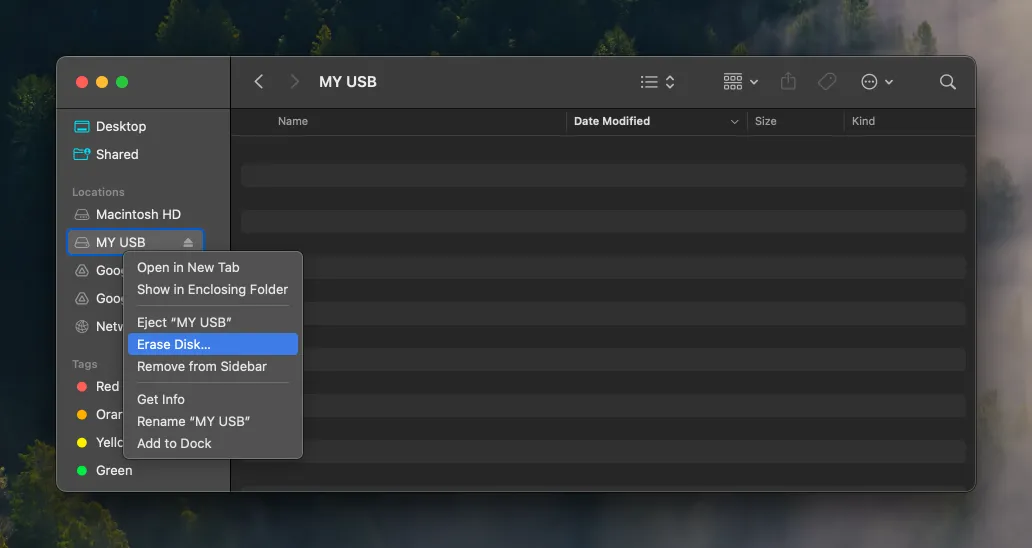
Open a Finder window and look for your USB drive in the sidebar, under "Locations"
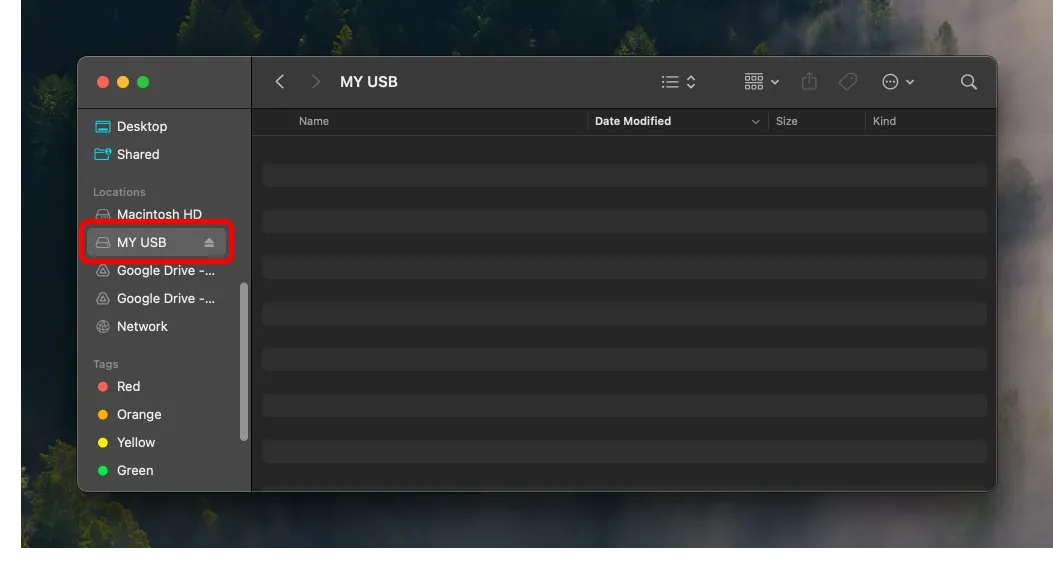
Right click the USB drive and click the "Erase" option
In the dialog that opens, enter a name for the USB drive, and under the "Format" section, select "MS-DOS (FAT)"
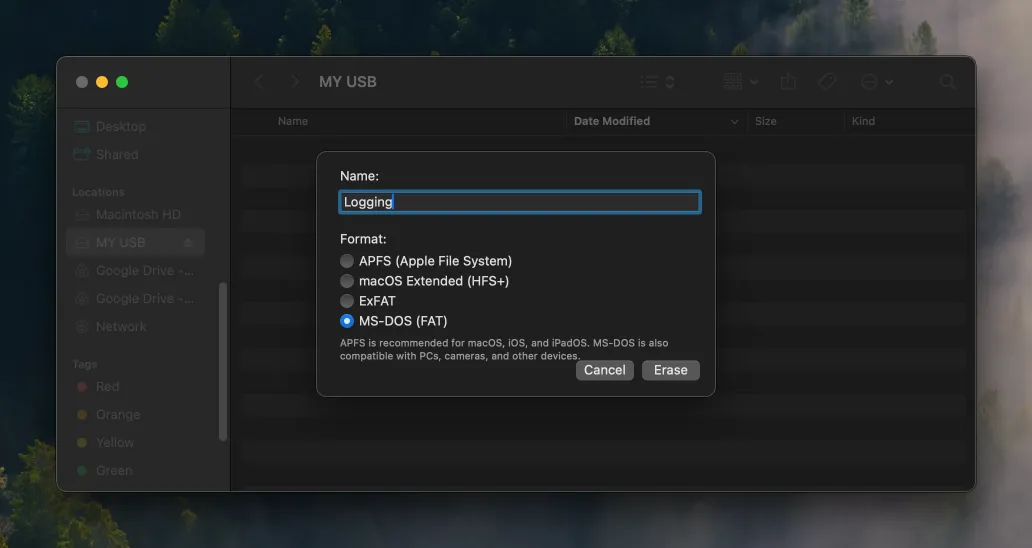
Click "Erase" and wait for the drive to be formatted
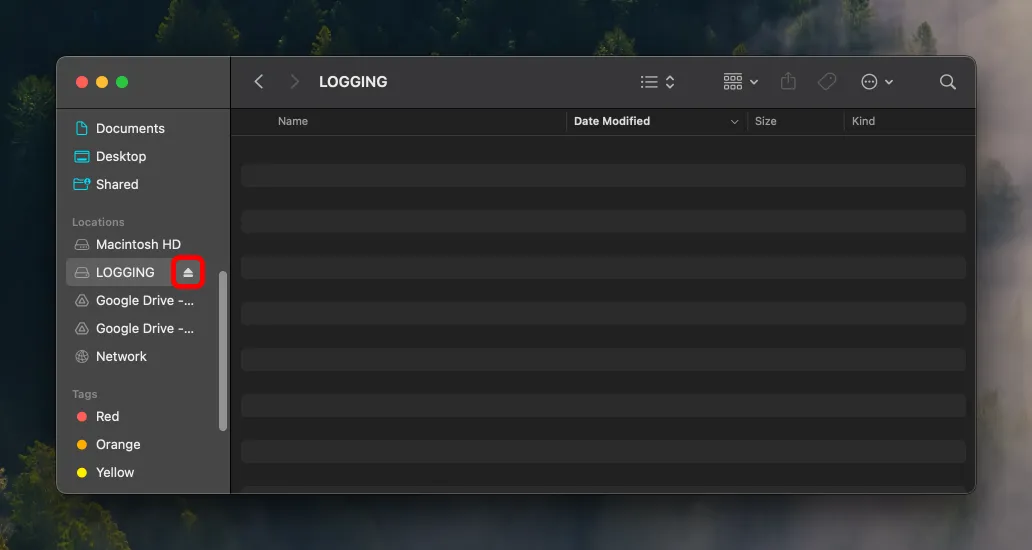
Eject the drive from your computer, then remove it from your computer
Insert the USB drive into one of the roboRIO's USB ports
The next time your robot code starts up, logs will automatically be saved to the USB drive.